How to Print Google Sheets (Fit to Page)
Learn how to print Google Sheets with gridlines, headers, and fit-to-page scaling. Covers print area, page breaks, orientation, and margins.
Sheets Bootcamp
March 8, 2026 · Updated November 16, 2026
Printing a Google Sheets spreadsheet works differently than printing a document. The print settings panel controls page layout, scaling, gridlines, and headers, so you get a clean printout instead of a truncated mess.
This guide covers how to print Google Sheets with the right fit-to-page settings, how to print a specific range, and how to control gridlines, margins, and page breaks.
In This Guide
- How to Print Google Sheets: Step-by-Step
- Fit to Page Options
- Print a Specific Range (Print Area)
- Page Breaks and Multi-Page Sheets
- Formatting Options for Print
- Headers, Footers, and Page Numbers
- Tips and Best Practices
- Related Google Sheets Tutorials
- FAQ
How to Print Google Sheets: Step-by-Step
Open the Print dialog
Go to File > Print or press Ctrl+P (Cmd+P on Mac). A print preview appears on the left with a settings panel on the right.

Choose your print range
In the Print dropdown at the top of the settings panel, choose:
- Current sheet — prints the active sheet
- Workbook — prints every sheet in the file
- Selected cells — prints only the range you highlighted before opening Print
For large sheets, printing Selected cells keeps your output focused on the data that matters.
Adjust page settings
Set your preferences in the settings panel:
| Setting | Options |
|---|---|
| Paper size | Letter, A4, Legal, and more |
| Page orientation | Portrait (tall) or Landscape (wide) |
| Scale | Normal (100%), Fit to width, Fit to height, Fit to page |
| Margins | Normal, Narrow, Wide, or Custom |
Review and print
Check the preview on the left. Use the page arrows to review all pages if your data spans multiple pages. When everything looks right, click Next to open your browser’s print dialog, then click Print.
Use Landscape orientation for sheets with many columns. This fits more data across the page before forcing a page break.
Fit to Page Options
The Scale setting controls how Google Sheets resizes your content to fit the printed page.
| Scale option | What it does |
|---|---|
| Normal (100%) | Prints at actual size. May cut off columns or rows at page edges. |
| Fit to width | Shrinks content so all columns fit on one page. Rows may span multiple pages. |
| Fit to height | Shrinks content so all rows fit on one page. Columns may span multiple pages. |
| Fit to page | Shrinks everything to fit on a single page. Can make text very small on large sheets. |
Fit to page works well for sheets with up to about 20 columns and 50 rows. Beyond that, the text becomes too small to read. Use Fit to width for wider sheets and accept multiple pages vertically.
Print a Specific Range (Print Area)
Google Sheets does not have a permanent “print area” setting like Excel. Instead, you select the range before printing:
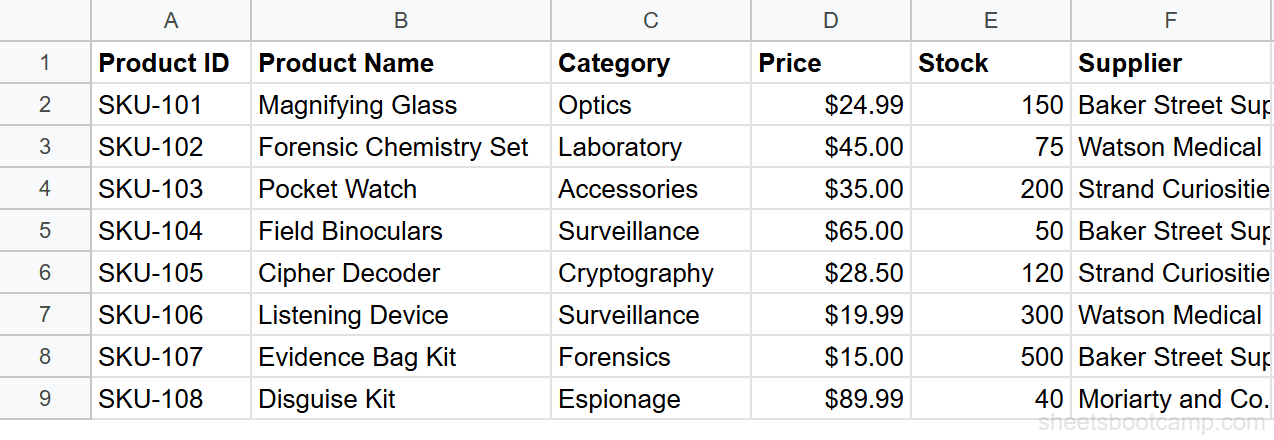
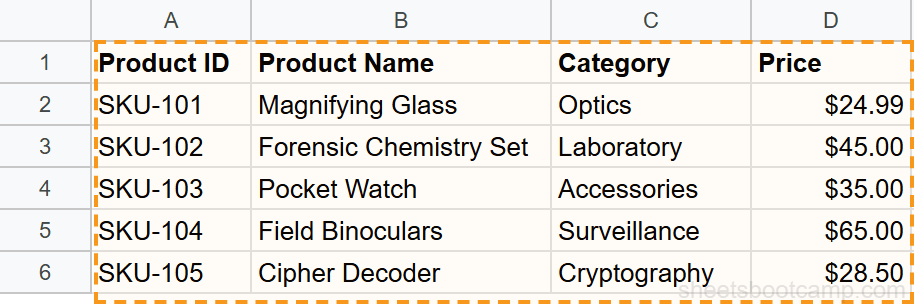
- Select the cells you want to print (e.g., A1:D20).
- Go to File > Print.
- In the Print dropdown, choose Selected cells.
- Only the selected range appears in the preview.
You need to reselect the range each time you print. If you print the same range frequently, consider adding a named range for quick selection, or create a separate “Print” sheet with an =IMPORTRANGE() or cell references pulling only the data you need.
Page Breaks and Multi-Page Sheets
When your data spans multiple pages, Google Sheets adds automatic page breaks. You can adjust them:
- In the print preview, look for the dashed blue lines showing where pages break.
- Click and drag a page break line to move it.
- Moving a break changes where one page ends and the next begins.
Custom page breaks are only available in the print preview. They reset if you change the scale, margins, or paper size.
Page breaks in Google Sheets are not as flexible as in Excel. You cannot insert manual page breaks outside the print preview. If you need precise page control, consider adjusting column widths or splitting data across sheets.
Formatting Options for Print
The print settings panel includes formatting toggles under the Formatting section:
| Option | What it does |
|---|---|
| Show gridlines | Prints a border around every cell. Off by default. |
| Show row and column headings | Prints the column letters (A, B, C) and row numbers (1, 2, 3). |
These two options make printed sheets easier to reference, especially when collaborators need to discuss specific cells by their address.
Repeat frozen rows on every page
If your sheet has frozen rows, Google Sheets automatically repeats them at the top of every printed page. This keeps your header row visible on multi-page printouts without any extra setup.
Headers, Footers, and Page Numbers
Click Headers & footers in the print settings to add information to the top or bottom of each printed page:
- Page numbers — sequential numbering across all pages
- Workbook title — the file name
- Sheet name — the active sheet tab name
- Current date and Current time
- Custom text — add your own text to any header/footer position
Each header and footer has three sections: left, center, and right. Click a section to add or edit its content.
Tips and Best Practices
- Preview every page before printing. Use the page arrows in the preview to check for cut-off data, orphaned rows, or blank pages at the end.
- Turn on gridlines for data-heavy sheets. Without gridlines, printed rows blur together. The gridline option adds visual structure without changing your on-screen formatting.
- Use text wrapping before printing. Wrapped text expands row heights on screen and in print. If cells show clipped text on screen, they print clipped too.
- Try the Narrow margins option to squeeze more columns onto the page before resorting to landscape or scaling.
- Save as PDF for sharing. In the print dialog, choose “Save as PDF” as the destination instead of a printer. This creates a clean PDF that anyone can open without needing Google Sheets access.
Related Google Sheets Tutorials
- How to Freeze Rows and Columns — Frozen rows repeat as headers on every printed page
- How to Wrap Text — Make long text visible in cells before printing
- Custom Number Formats — Format currency, dates, and percentages for clean printouts
- How to Share Google Sheets — Share the file digitally instead of printing it
FAQ
How do I print only part of a Google Sheet?
Select the range you want to print, then go to File > Print. In the Print dropdown, choose Selected cells. Only the highlighted range appears in the print preview.
How do I fit a Google Sheet on one page?
Open File > Print and change the Scale setting to Fit to page. Google Sheets shrinks the content to fit everything on a single printed page. If the result is too small to read, try Fit to width instead and allow multiple pages vertically.
How do I print gridlines in Google Sheets?
In the print settings panel (File > Print), check the Show gridlines option under Formatting. This adds visible borders around every cell on the printed page.
Can I set a custom print area in Google Sheets?
Google Sheets does not have a permanent print area setting like Excel. Instead, select the range before printing and choose Selected cells in the Print dropdown. You need to reselect the range each time you print.
How do I add headers and footers to a printed Google Sheet?
In the print settings panel, click Headers & footers. You can add page numbers, sheet name, current date, current time, workbook title, or custom text to the top or bottom of each printed page.
Why does my Google Sheet print blank pages?
Blank pages usually mean your sheet has formatting or data in cells far from your actual content, causing the print range to extend beyond your data. Delete empty rows and columns at the edges, or select only your data range and print Selected cells.